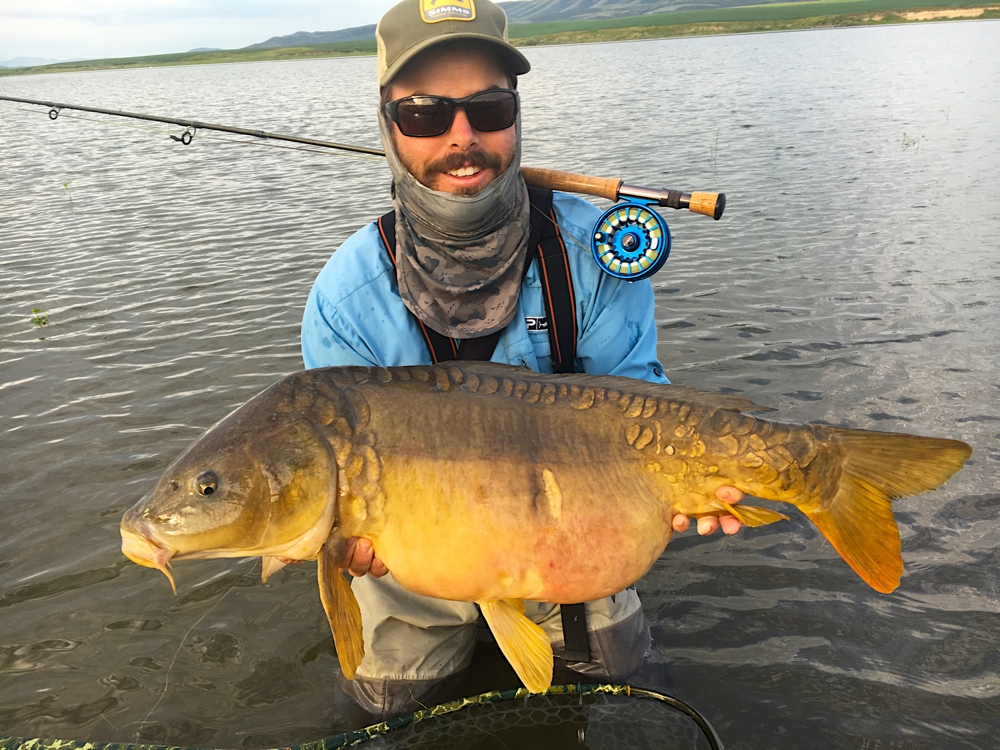
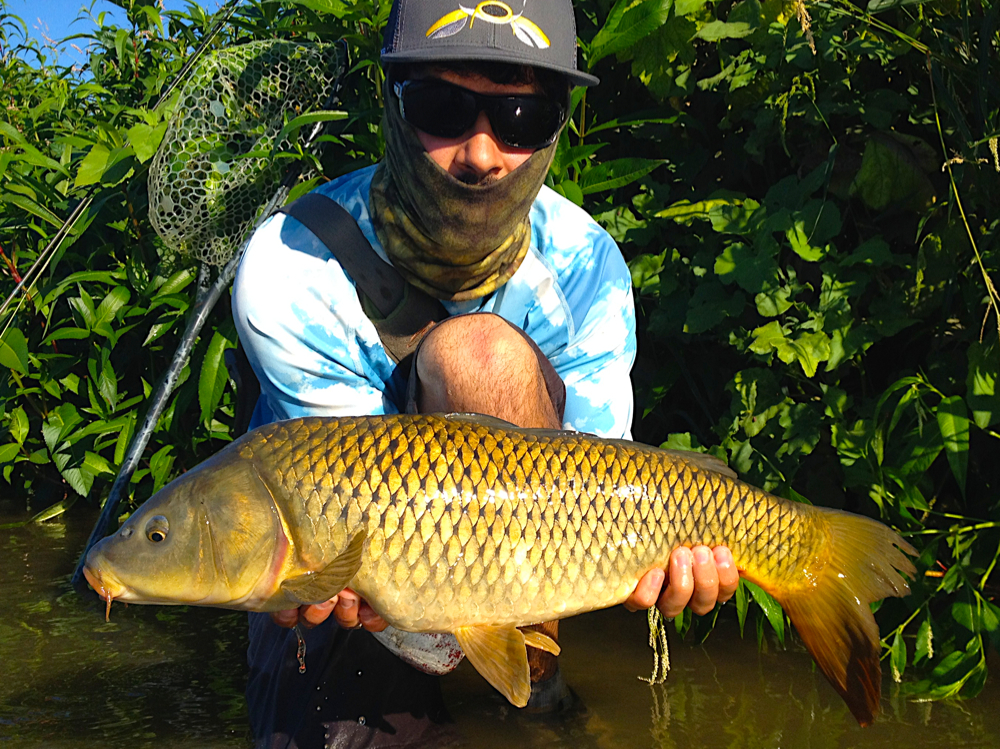
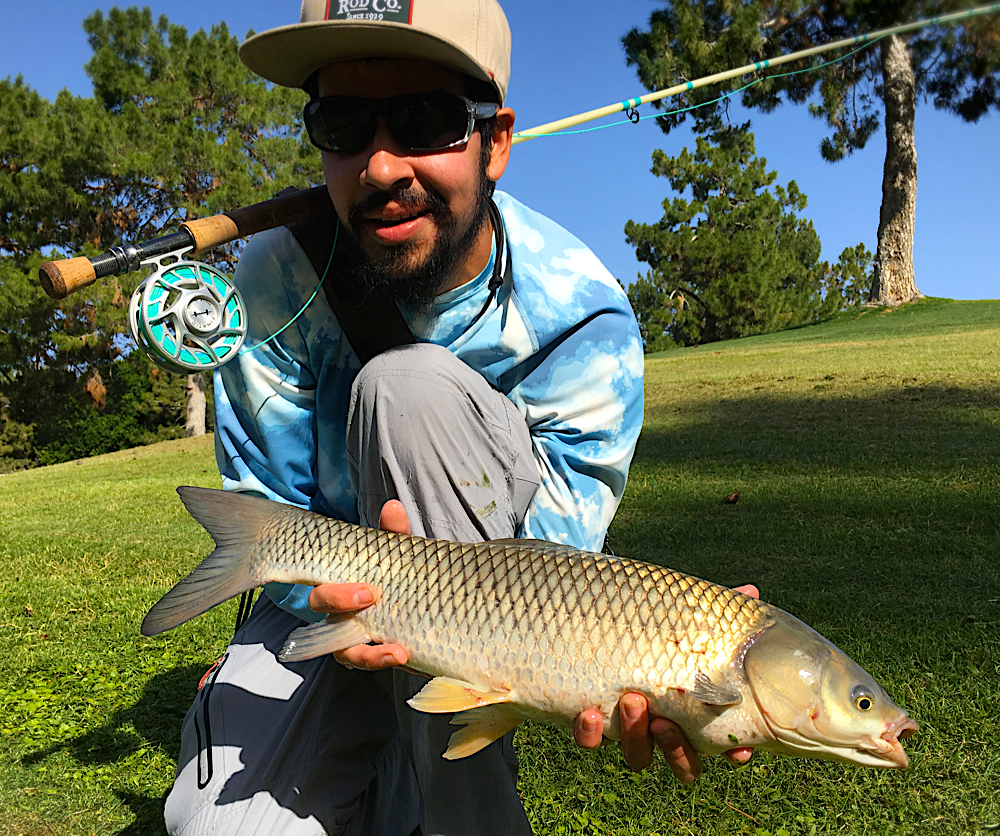
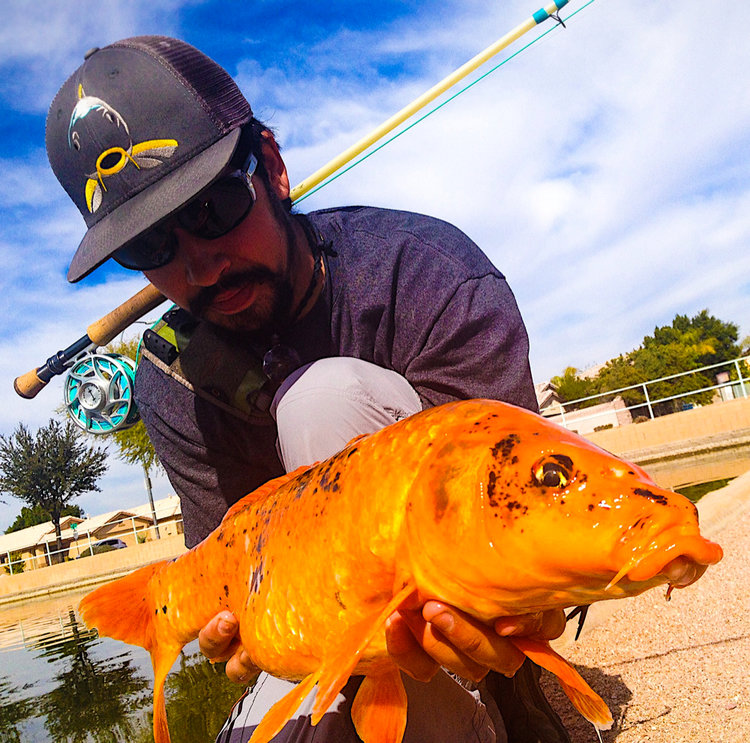
Fly fishing for carp has been gaining popularity within the past couple of years and what was once considered a trash fish is now something that is pursued. These fish were originally brought over as a cheap food source due to how fast they would multiply and also for their durability within the ecosystem. Because of their growth and hardiness they would populate a water quickly and would then be taken out or exterminated due to their quick reproduction cycle. The carp would then be found in un-kept bodies of water throughout the USA. This is the reason why they are thought of by some as "trash" fish.
The growth of their recent popularity in fly fishing circles is due to their strength when hooked and their ability to evade capture. The attraction to any style of fishing would be the challenge that it presents and the puzzle that has to be solved to overcome that challenge. Carp have been proven to be one rather large puzzle to solve.
Once you step into the world of fly fishing that puzzle gets expanded drastically. Some people who have fished for both bonefish in the tropics and carp have compared both quarry as being equally challenging.
Carp as a species are already extremely smart and seem to learn over time to evade capture. With the recent surge of interest in Anglers to fish for carp on the fly, we can only imagine that the species will continue to learn and evolve and become increasingly more challenging to pursue for fly fishermen. As this aspect of the sport grows the techniques and tools that are used to capture them will have to evolve as well posing increasing challenges for those with 'carp fever'.
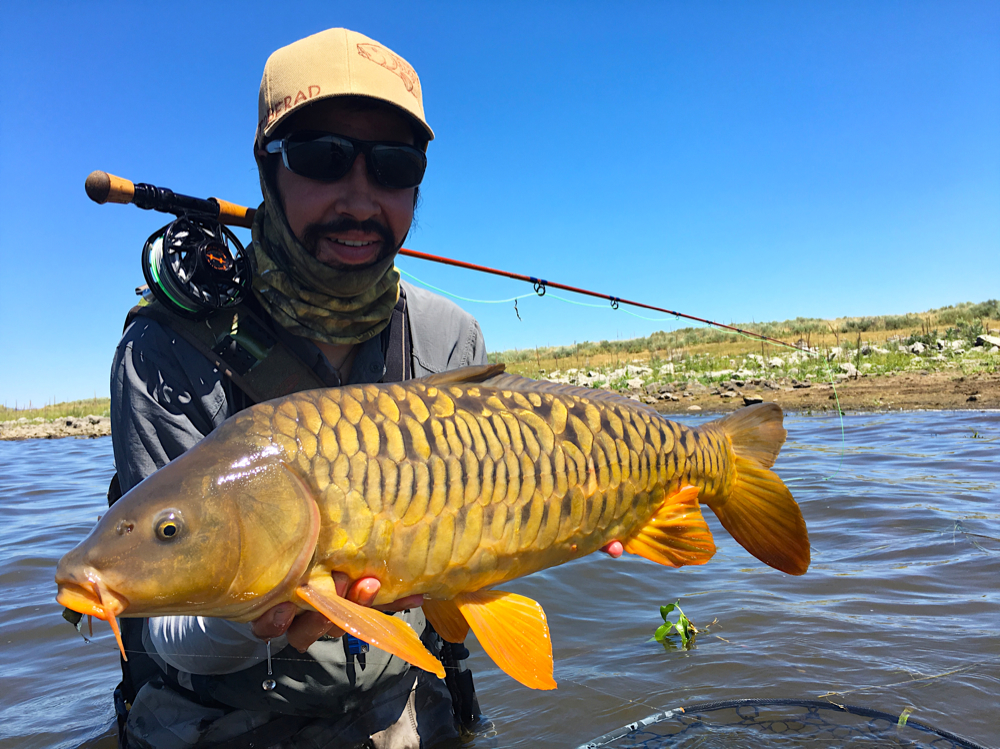
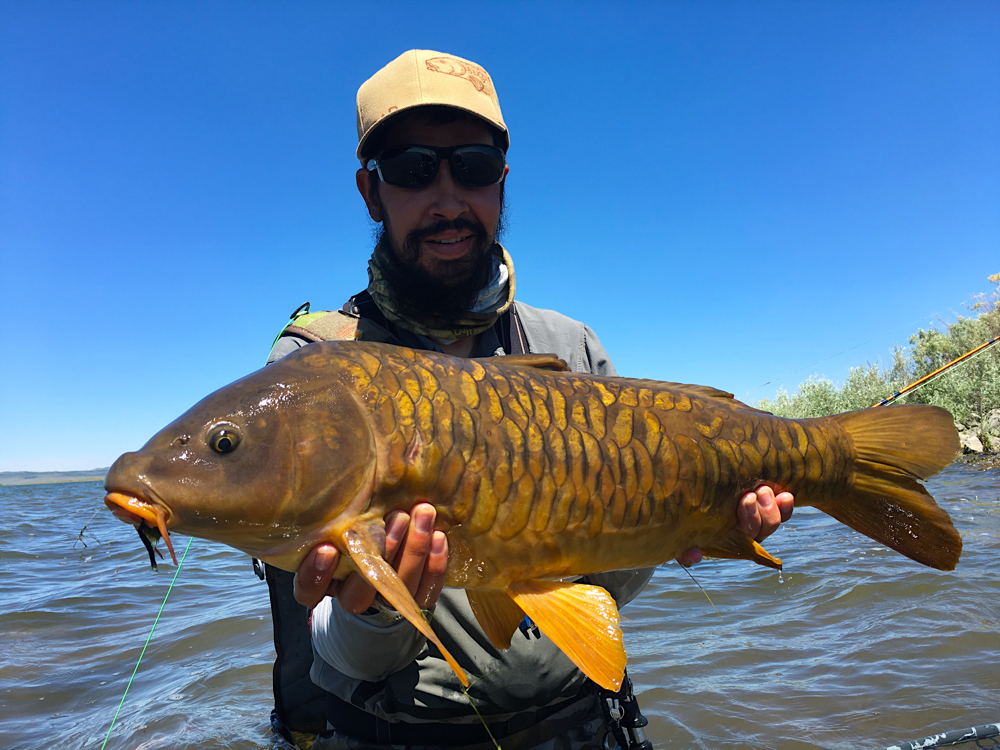
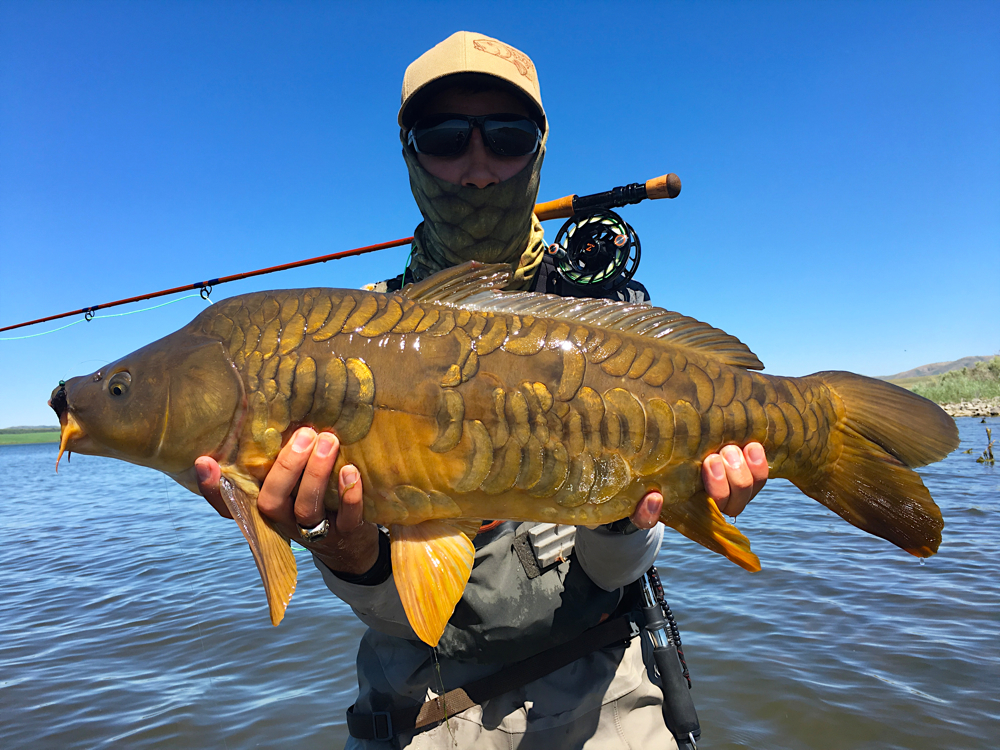
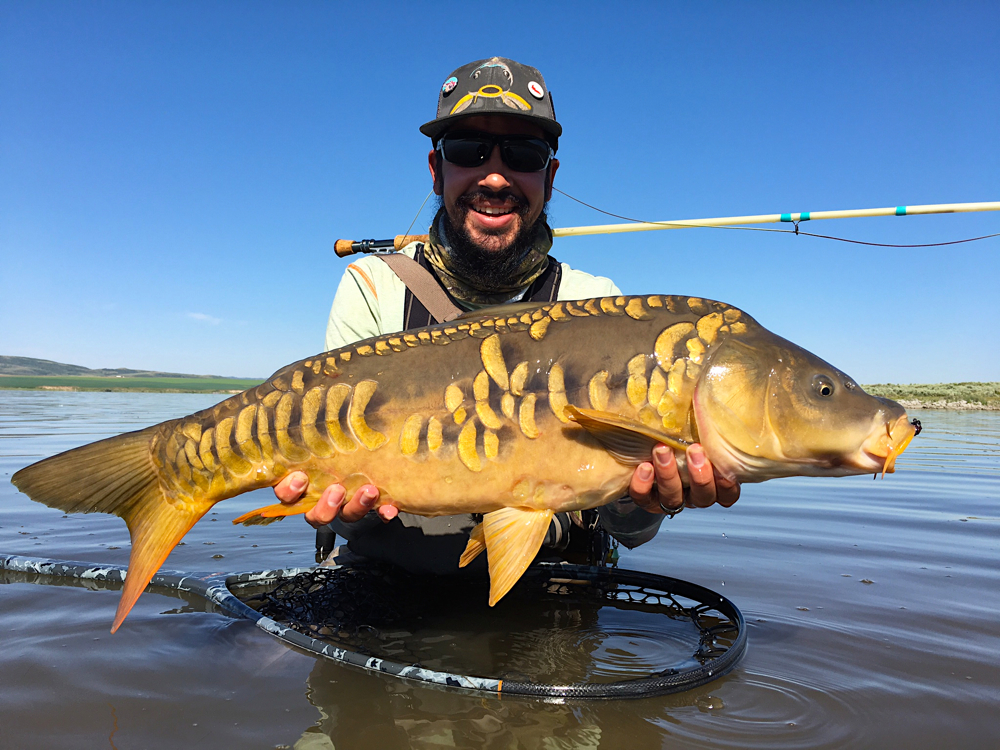
FLY FISHING FOR CARP
BY JEFF HERNANDEZ
Jeff is a Southern California based and nationally renowned Carp on the Fly specialist. A true fishing addict, known better to his many social media friends as youngunz_612
Jeff has been fishing since he could walk and has had a fly rod in his hand since the age of six fishing trout rivers and streams for the majority of his childhood with his father. Fishing other Western states such as Utah, Colorado, Arizona along with steel head fishing in Northern California and local inshore and offshore saltwater fly fishing has helped hone his skills. Jeff has also worked his way up to the position of assistant manager at Bob Marriotts Fly fishing Store in Fullerton, California; a dream job indeed and the envy of many a Fly fishing enthusiast.
Jeff says, "I'm completely consumed with carp fly fishing and love nothing better than a good 'golden bonefish' chase." He currently spends almost all of his free time chasing Carp in the local Los Angeles area urban rivers and back waters. Jeff added, "Anytime I'm not on the water is spent creating on the vice. I am really excited to be a part of the ever growing sport of fly fishing for carp and completely stoked to be able to share my knowledge and love for the sport here via the American Carp Society's website."
EQUIPMENT
Rod, Reel, Leader and Flies
As with any sport the gear that you use can make or break how you perform and how well you can then face the task. Fly fishing is no different and the tackle that is used will affect how well you are able to catch and fight these incredible fish. Not in the sense that he most expensive gear has to be used, but strong tackle and a good rig is important. Having the correct rod weight and tackle will be important. The most common rod weights will be 7-8 weight, and nine feet in length. In situations where the carp will be of a larger size, pushing 20 pounds for example an 8-10 weight will give the angler more leverage in controlling the fish. The standard rod lengths will be 9 feet, over all that will be the 'go to' rod length for your general carp fishing experience.
In different cases longer rods may be better suited but those are in specific situations that would be more specialized. For your first fly rod opt for a good 9 foot version. This length will be the most versatile for most situations. Longer rods are referred to as "Switch" rods, and are made for a specialist form of freshwater trout fishing. The additional length when used for carp will give the angler an advantage and greater 'reach'. Carp are vary wary fish and spook easily and so an extra foot or two of distance between you and the fish can be extremely helpful in some situations. The extra length will also give you better casting abilities with structure directly behind you as a longer rod will give you a higher casting loop.
+ RODS
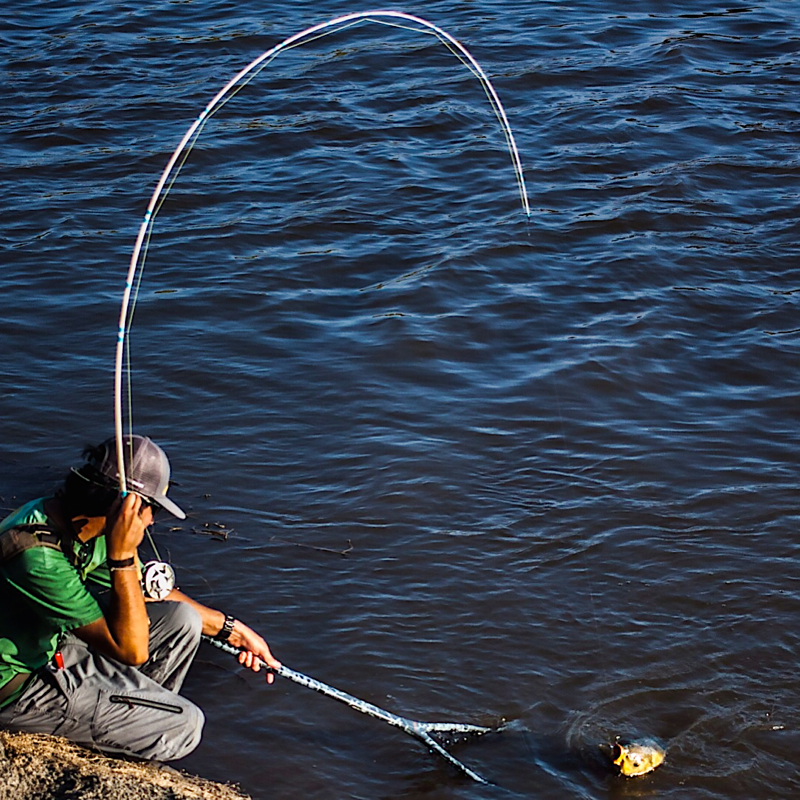
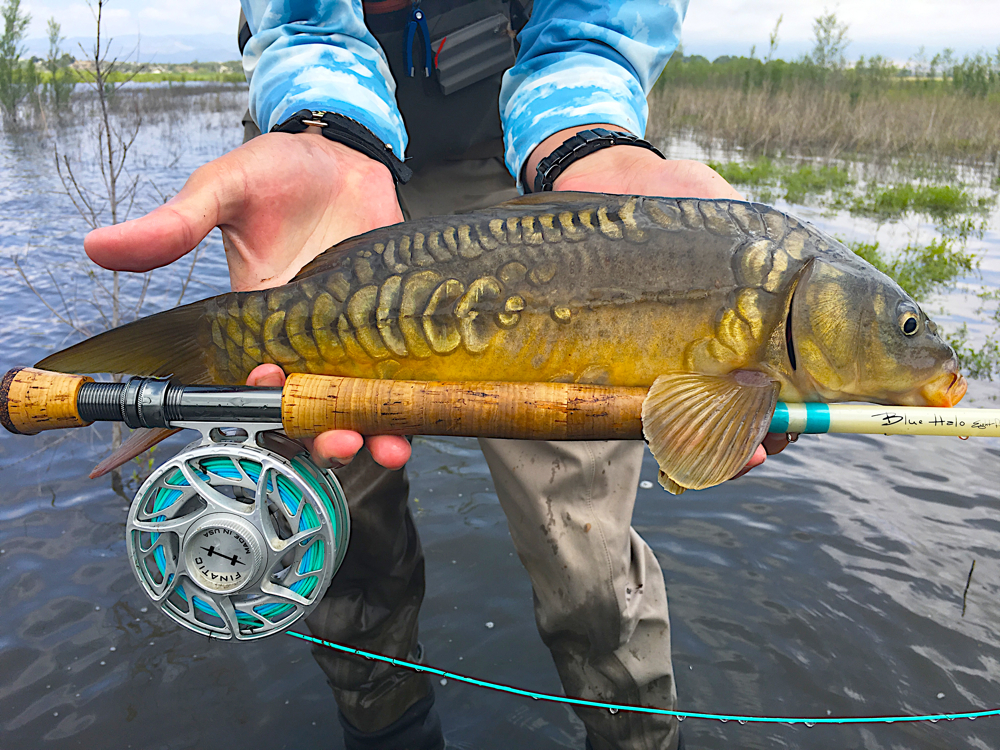
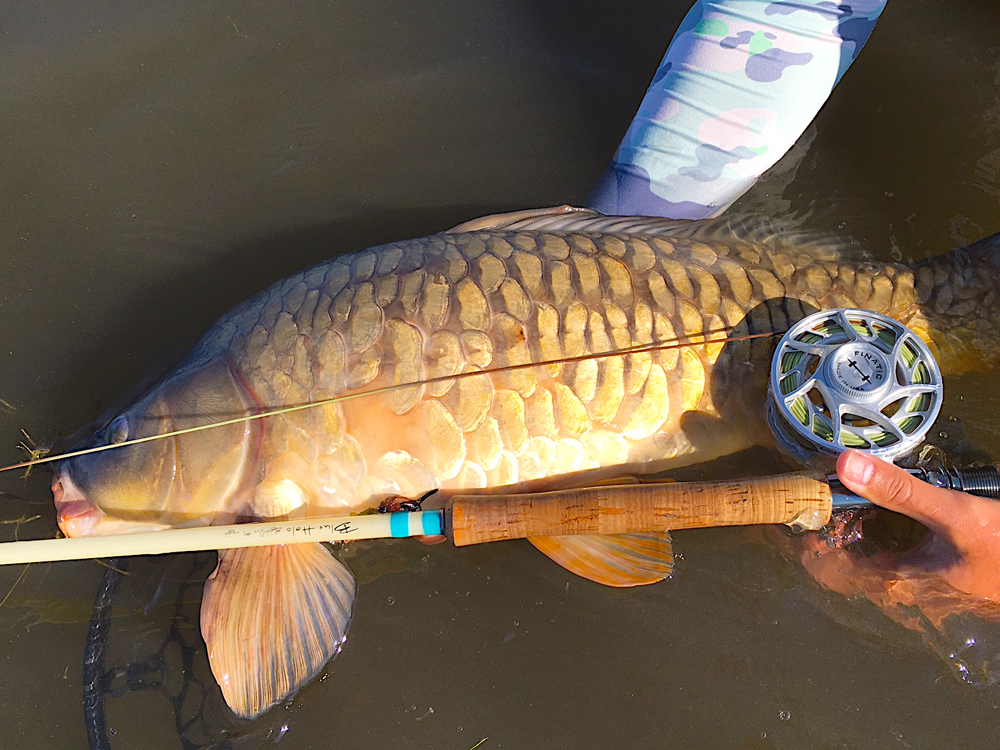
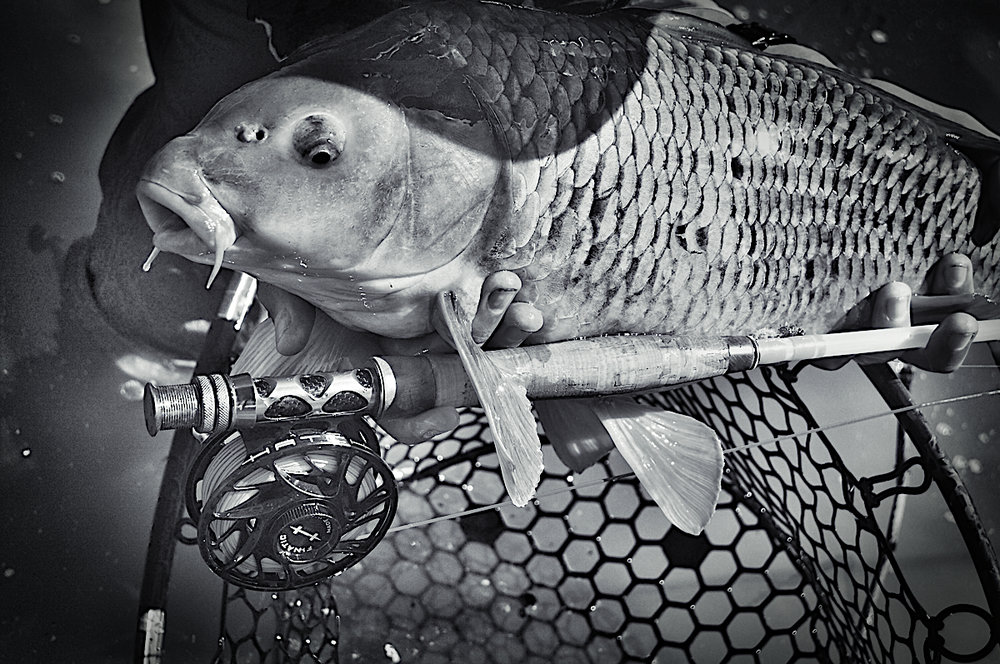
Most of the rods that are out on the market today are made from some sort of high strength synthetic material, giving the rod its "light weight" while still being strong but there are another range of rod materials that also have a place in persuing these fish. Fiberglass is starting to make a come back in the fly fishing industry and what was once an 'old school' material is now becoming increasingly popular. The advantages to fishing a fiberglass rod for carp is the slower action to the rod that fiberglass will give.
In the rod categories you have the choice of a 'fast action' rod and 'slow action' rod, and everything in between. The faster action rods will give you a lot more power and pulling leverage on the fish when hooked, they will also produce a fast line speed. In the persuit of an extremely spooky fish a fast line speed may not always be something that is wanted. The fiberglass rods will be a slower action rod giving you a slower line speed, allowing for a more 'delicate'presentation.
With these fish any little advantage can make the difference between a fish on the end of the line or a spooked carp blowing your shot at all the other carp near it. With the slow action of the fiberglass you also have more bend in the rod which will allow for more shock absorption. Where you would normally fish lets say 10lb fluorocarbon you can then drop the tippet size down a few pounds. So where you would normally fish 10 pound you can then drop down to 8 pound, without having to worry to much about breaking the fish off. The set back to the fiberglass is that in fast current it is harder to control the fish from going to areas where they can break off.
+ REELS
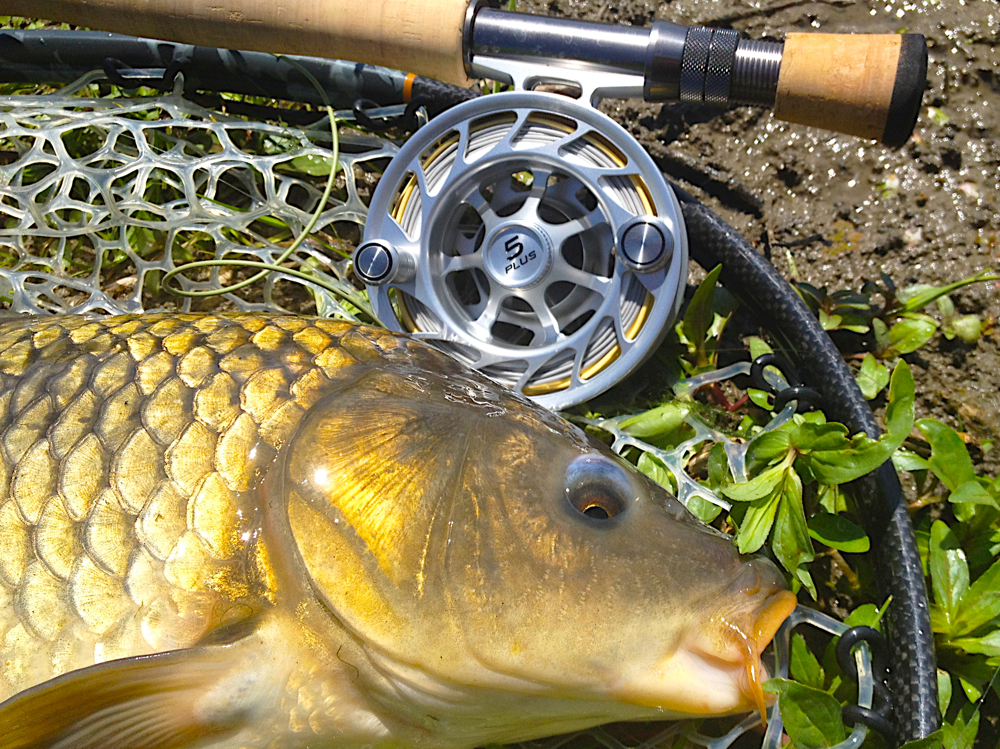
These fish are extremely powerful, and although the rod is your immediate connection with the fish the reel is going to be what gives you the stopping power. The drag system will put the pressure on the fish and tire it out quicker, so making the fish easier to land. As with the rods there are a lot of reels on the market today and the biggest factor for you in carp fishing will be the actual drag system. Most of the reels out there will have a one way bearing that will go around a clutch on the spool. Some will also have cork for the drag system or some form of stacked synthetic material for the drag. A more complex drag system does not necessarily mean that it will be the best reel of choice for your situation. Some waters where you will persue carp may not be the cleanest. Whether it be an urban river or the back cove of a lake where debris has gathered from the prevailing wind you will have potential for the debris to get in the way of the drag and so a sealed drag system would be beneficial.
Carp can be caught on an old school click and pull reel or one of the higher end reels. Although it is possible to catch them on a very basic reel, life will be a lot easier for you in bringing these fish to the net with some stopping power in your hand. A reel with a one way clutch rather than a 'clicker' would be a good place to start. On a side note the color of the reel can also be a factor in which reel is selected. On a summer day anything bright or metallic can give off a reflection and put these fish down deeper into the water. Its not a huge factor in the but personally I would rather have a darker color reel and get a fly in front of the fish than risk the chance of a metallic platinum reel give off a reflection only to see that 20lb mudding common spook and be gone.
+ FLY LINES
With the rods and reels covered all that is left is the fly line and leader system which is the last connection between you and the fish. The main strategy for catching these fish is that of 'stealth' and getting the fly in front of them without spooking the fish is imperative. Taking that into consideration a fly line with a light taper on it is needed rather than a really aggressive front taper on the line producing a lot of line speed as this will produce a rather large splash. As the flies we use can be quite large a light taper fly line will easily turn over the fly while still producing a really delicate presentation to the fish. In some situations like the Great Lakes in Michigan extremly large and heavy sculpin patterns are used.
An aggressive fly line will be needed to flip over the flies and get them to a target accurately. Brighter colored fly lines are also something to stay away from. Even in semi-clear water they will spook the fish unless you have a ridiculously long leader. Natural colors or a color scheme that doesn't stand out too prominently is something to look for when picking out a fly line. A lot of the newer lines have a coating on them to repel dirt and grime from the areas fished however due to the unusual areas that carp can be found a good cleaning is recommended after each outing. This will aid in the line floating correctly. Natural colors and a light to moderate tapered fly lines are the lines to be looking for to get the carp arsenal ready.
+ CARP FLIES
In the sport of fly fishing for carp we are making "flies" that will imitate the natural food sources of the species. Carp tend to feed by the smell/taste of the food source that is available to them. That being the case, since we are using both synthetic and natural materials that will not simulate the natural scents that the carp are used to we have to try as accurately as possible to duplicate the visual appearance although the flies that are tied for carp may not look all that complicated and intricate in comparison to some of the extremely intricate old school salmon flies.
There is a good amount of thought and some trial and error that goes into developing an effective carp pattern. Although there will be carp patterns that can be somewhat generic and look rather similar they all have their own place and use. They will all be made specifically for different scenarios in which you will the carp feeding based upon where the fish are at and in what body of water they are living in. This will usually dictate their most likely primary food source. There are also a number of species of carp and the patterns may change from species to species. The remainder of this section of the website will cover where, how, and what type of different flies to use in various scenarios in which we find carp.
In the persuit of "Carp" on the fly there are variations of the species to be considered. Each one will be somewhat different in how they act and feed. To generalize on how to fish for carp would be near impossible if we are to attain any level of success. That being said, we will cover how to fish for carp by each species that can be found in most of the waters in the USA.
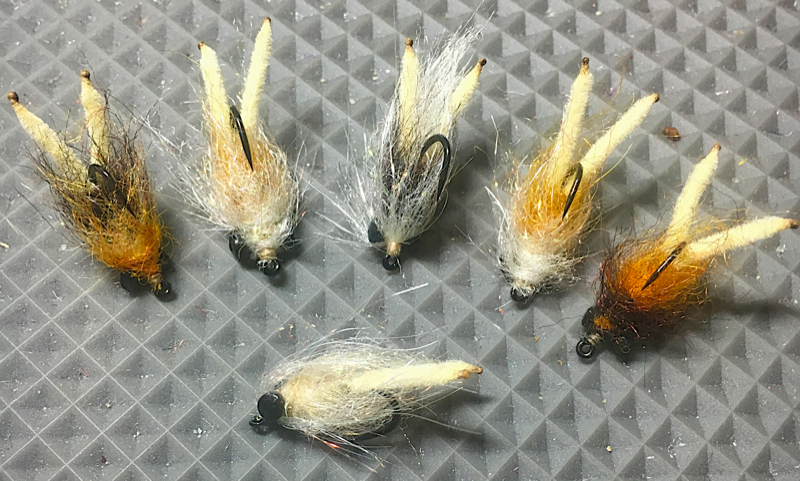
Fly #1: Orange Hybrid (Second fly from the left in the above photo) Due to the coloration that was chosen for this particular pattern I have personally found the most success in fishing this fly near structure either in the urban rivers with rock banks where smaller crawfish are a lot more common and a main food source for the carp or in slower moving water where there isn't a lot of current. The pattern is tied with bead chain eyes rather than dumbbell eyes. The reason for that is in the calmer water the carp are a lot easier to spook and details make a difference. If you throw a rather heavy fly anywhere near the fish the splash created will almost always spook the fish and the shot is blown. The lighter weight will also better imitate a crayfish that is falling from above; they almost always flutter down to the bottom where structure is not available to them quickly.
If the fish is feeding heavily and has its face in the mud then focus on a small area to place the fly. Usually within a 10''-12'' radius from the carps mouth. That distance will allow the carp to spot the fly even when feeding heavily. Slower strips once the fly has hit the bottom will imitate a crawfish trying to get away from danger while drawing minimal attention to itself. In faster currents, as in urban areas or natural rivers, the faster water will impede the fly getting down to the bottom when tied with bead chain eyes and so heavier dumbbell eyes will need to be used. Also, in the faster current the presentation to the fish will be a bit different depending on how aggressively the fish are feeding. This presentation is a mix between a 'drag and drop' and 'swinging' a streamer.
I will usually cast the fly just to the side of the fish swinging it past the carp in shallow water and then letting it fall so that by the time it reaches the bottom it is within inches of the mouth. Then by letting it tumble right to the fish you will find that they usually smash the fly aggressively thinking that it was a crustacean that came dislodged from the bottom, being an easy food item.
Tying Recipe:
- Hook: Gamakatsu SL45 #6-8
- Thread: 6/0 in a orange or a burnt orange
- Tail: Ultra Chenille in the color red
- Body: SLF dubbing in the Crawfish orange, Senyos laser dub in an orange also works real well.
- Eyes: Medium black bead chain eyes Collar: Orange guinea hackle
Fly #2: Olive Hybrid: (Fly on the far left in the above photo) A similar pattern to the orange hybrid, the over all body anatomy of these hybrid flies are a great carp fly and various colors and combinations can be used. If you do tie flies play around with different color combinations and ideas as you may stumble across the "money" fly. I have had the most success with the Olive version of this fly when fishing in slower water conditions. Mainly the slower pools of rivers and also in larger bodies of water such as lakes and reservoirs, it has time and again to be a 'go to' pattern.
When in the slower water I will try and get as close as I can to the fish and try to be in a position where I can "dap" the fly to the fish that is feeding. In the slower water there is a greater chance from the splash or the cast to potentially spook the fish. Letting the fly fall within six inches of the fish many times will produce a mix between a surprised or 'reaction' take and an aggressive 'feeding' take. The problem with presenting the fly in that way is it can also have a negative effect on the fish and spook them. However most of the time placing it close to the fish or dragging and dropping the fly within a foot or so is close enough for the fish to notice the fly.
This fly is one of the flies I will regularly have on when fishing lakes or larger slower bodies of water. The reason being is that with the olive dubbing and the red tail, it can imitate a worm that is stuck or coming out of a piece of moss or aquatic vegetation.
Tying Recipe:
- Hook: Gamakatsu SL45 #6-8
- Thread: 6/0 Olive Tail: Ultra chenille in red
- Body: Angora goat dubbing in an olive color, can also use senyos laser dub in an olive color
- Eyes: Medium black bead chain Collar: Olive guinea hackle
Fly #3: Yellow/Tan hybrid (Fly on the far right in the above photo) The reason for the lighter coloration in this pattern is that in a situation where the bottom of the river/lake is all sand and a lighter color the fly looks really 'buggy'.
When I've fished it in places where the bottom has been of a darker color or really overgrown with either moss or aquatic vegetation it has tended to spook the fish. The thought behind the reasoning as to why it spooks the fish is that it is too bright of a pattern in a darker setting and doesn't really look natural. However, when fished on a sandy bottom the carp have really gone for it, more so than some of the other patterns I would normally use. Due to the coloration of the fly the body of it tends to blend in with the bottom sandy floor, giving it a really interesting look. Then with the pink tail it looks like a worm or some other form of invertebrate that is moving along the bottom.
All of these hybrids will be fished in a similar way presenting it ideally with a drag and drop presentation allowing it to slowly fall in front of the fish. Tying Recipe
- Hook: Gamakatsu SL45 #6-8
- Thread: 6/0 tan thread
- Tail: Ultra Chenille pink
- Body: SLF in a pale yellow or tan
- Eyes: Medium black bead chain eyes Collar: Natural guinea hackle
+ GLO BUG-SUCKER SPAWN PATTERNS
These fly patterns have to be one of the most versatile and popular carp fly patterns out there today. I have caught countless carp, koi and grass carp on this very simple but effective pattern. Due to the various colors that it is sold in and can be tied in the options are endless. I have found the most success in the white, cream, tan, orange and pink/peach colorations across the species board. The white or tan ones imitate either bread that had been left behind from people feeding ducks, or left over from peoples trash in the lake.
One of the best ways to fish a lake that you know has carp in it is to find the people who are feeding bread to the ducks. The carp will gather in the area feeding extremely aggressively on the falling bread that slips through the cracks of the feeding ducks. When this is going on there is nothing delicate about your cast or your presentation as there is already a great deal of commotion from the feeding ducks and the carp are used to it. Stealth is not needed here!
White is obviously the color of choice in these situations, although it is the same color as bread there is another reason for the white color. As the carp are feeding so aggressively the water tends to get pretty churned up and muddy and it becomes hard to see the fly. Due to the lighter color, it is easier to see in the water even when its been really badly churned up. In watching the fly, even when not being able to see the carp, once the fly has disappeared then something has taken it.
If there are no ducks present or there are carp who are mudding and feeding then the tactics will change a bit. Ideally the "dapping" technique will get the fly in front of the carp without spooking them from the splash of the fly hitting the water. Due to the type of material that the glo bugs are tied out of they will absorb a lot of water making them heavier, thus producing a bigger splash. So if dapping it is out of the question then the 'drag and drop' technique is the way to go, placing the fly a little further away from the fish than normal. The 'drag and drop' technique, for getting the fly to the fish without spooking it, is one of the most effective ways of getting the fly into position.
Tying Recipe:
- Hook: Gamakatsu Glo bug hook
- Thread: 6/0 white or a light tan color
- Underbody: .030 lead wire, seven wraps on the hook shank
- Body: Mcflyfoam glo bug material in various colors, Or cascade crest tools CCT body fiber trimmed to a sphere
+ TROUSER WORM
The trouser worm pattern is one of the more time consuming ties out of most of the patterns out there today. Due to all of the hole punched pieces of foam it is a rather tedious tie, but in the end a very productive pattern in the right conditions.
With all of the foam on this fly it has to be tied with dumbbell eyes rather than the bead chain eyes. If tied with the lighter eyes the amount of foam will prevent the fly from sinking down and it will just float on the surface. This pattern as stated in its name is made to imitate an aquatic worm either coming out of the ground or moving along the bottom. It can be fished either sitting still and waiting for the carp to come along the fly and pick it up as its feeding. Or it can be dropped in the feeding range of the carp and in a sense "jigged" along the bottom.
It can be tied in a variety of different colors or combination of colors depending on what the fish are focusing on when they are feeding. The signature tail of this pattern can also be used in combination with various other patterns. A lot of the other hybrid patterns can be used instead of a chenille tail on the trouser worm to give the fish a different pattern.
Tying Recipe:
- Hook: Gamakatsu Glo bug hook
- Thread: 6/0 Pink or Red
- Body: Standard Chenille Red
- Tail: Thin Fly Foam 1/8 Red, Punched with 1/16 hole punch tool mounted on 210 Denier White Thread for Tail
+ DOUBLE UP FLY PATTERN
This fly pattern was conceived by another pattern that I used to tie which was very similar but with a single piece of chenille out of the back like in the hybrid patterns. I had a thought of maybe tying the fly with two tails rather than one and it absolutely crushed it on the water, and is now one of my top flies I reach for when I am deciding on what to throw first. I was unsure of what it would really imitate, I would say some sort of invertebrate or a nymphal form of an insect perhaps. Either way the carp tend to love it and not just in my home state of California, but in carp fisheries across the country.
This pattern is also my go to "dapping" fly, as it is tied with heavier dumbbell eyes it allows for a lot of connection with the fly. Dapping with this fly is really similar to tight line nymphing for trout. A great deal of information is detected in the tip of your line and the 'feel' through the rod. This type of carp fishing is one of the only times I have ever felt that distinctive "bump" when a fish has taken the fly. Keeping the line taught is crucial in being able to detect a strike and the heavier dumbbell eyes allow that by keeping the fly on the bottom even though there is some tension being applied to the leader. When setting the hook, set it towards the tail of the fish rather than pulling up river or ahead of the fish as this will maximize your hook up rate.
This pattern is also tied with bead chain eyes and has been a really good fly for fishing the 'flats' on the lakes. Still casting it and letting it fall next to the carp, although it has also proven itself by being 'stripped' slowly into the fishes feeding range.
- Hook: #10-12 down turned eye offset caddis/midge hook
- Eyes: 5/32 black dumbbell eyes
- Thread: 6/0 tan thread
- Tail: two pieces of cream micro ultra chenille tied on either side of the shank of the hook
- Body: Large root beer cactus chenille
- Collar: Natural guinea hackle
+ FLY TYING TOOLS
(From left to right in the photo below)
1: Whip Finisher- This tool is used at the very end of tying the fly to tie the final knot so the fly doesn't come undone. The thread is put through the top loop and then placed in the bottom notch, a triangle is then made with the thread and wrapped around behind the eye of the hook. This has to be one of the hardest parts of fly tying for beginning tiers to learn.
2: Scissors- The use of the scissors is pretty self explanatory, used to cut material and trim the thread at the final stage. However they will have different lengths and shapes of the scissor blades that will be used for different purposes in tying. The thicker bladed scissors are used for trimming thicker and tougher material, while the thinner bladed scissors are used for more finessing situations.
3: Dubbing teaser- When tying with dubbing, in particular a pattern where you are using a dubbing that you want to look real "buggy". The dubbing will have to be long strands of material so that is can be pulled out and give the look needed. Once the dubbing is tied on the hook and the fly is close to being finished. This tool is used to pluck strands of the material loose and give the fly the look that is needed. It is a needle on a handle with either pieces of it 'cut out' or the end of it 'roughed up' so it catches on the dubbing.
4: Bodkin- For the most part this is just a big needle with a handle on it. Used for manipulating material on the fly as needed and also used to apply the head cement at the end of the fly. Relatively basic tool but extremely functional and useful when tying up patterns.
5: Bobbin- Not to be confused with the Bodkin, this is the most important tool needed when tying as it holds and controls the tying thread. These will also come in a million different types and sizes and each will have different uses for different situations. The variation in the tip material will be the most relevant, as it will make or break your thread. The ceramic tipped bobbins will be the most popular and my personal favorite. They are the smoothest in feel when tying and help immensely in not breaking the thread mid tie.
6: Tweezers- Similar to the bodkin as in pretty self explanatory, used to help manipulate and pick up some of the smaller materials that are used in tying flies. They also make a specific tweezer with an indent in it used to pick up round beads to tie onto the fly. These will also come in multiple lengths and sizes all with different applications for specific situations.


